


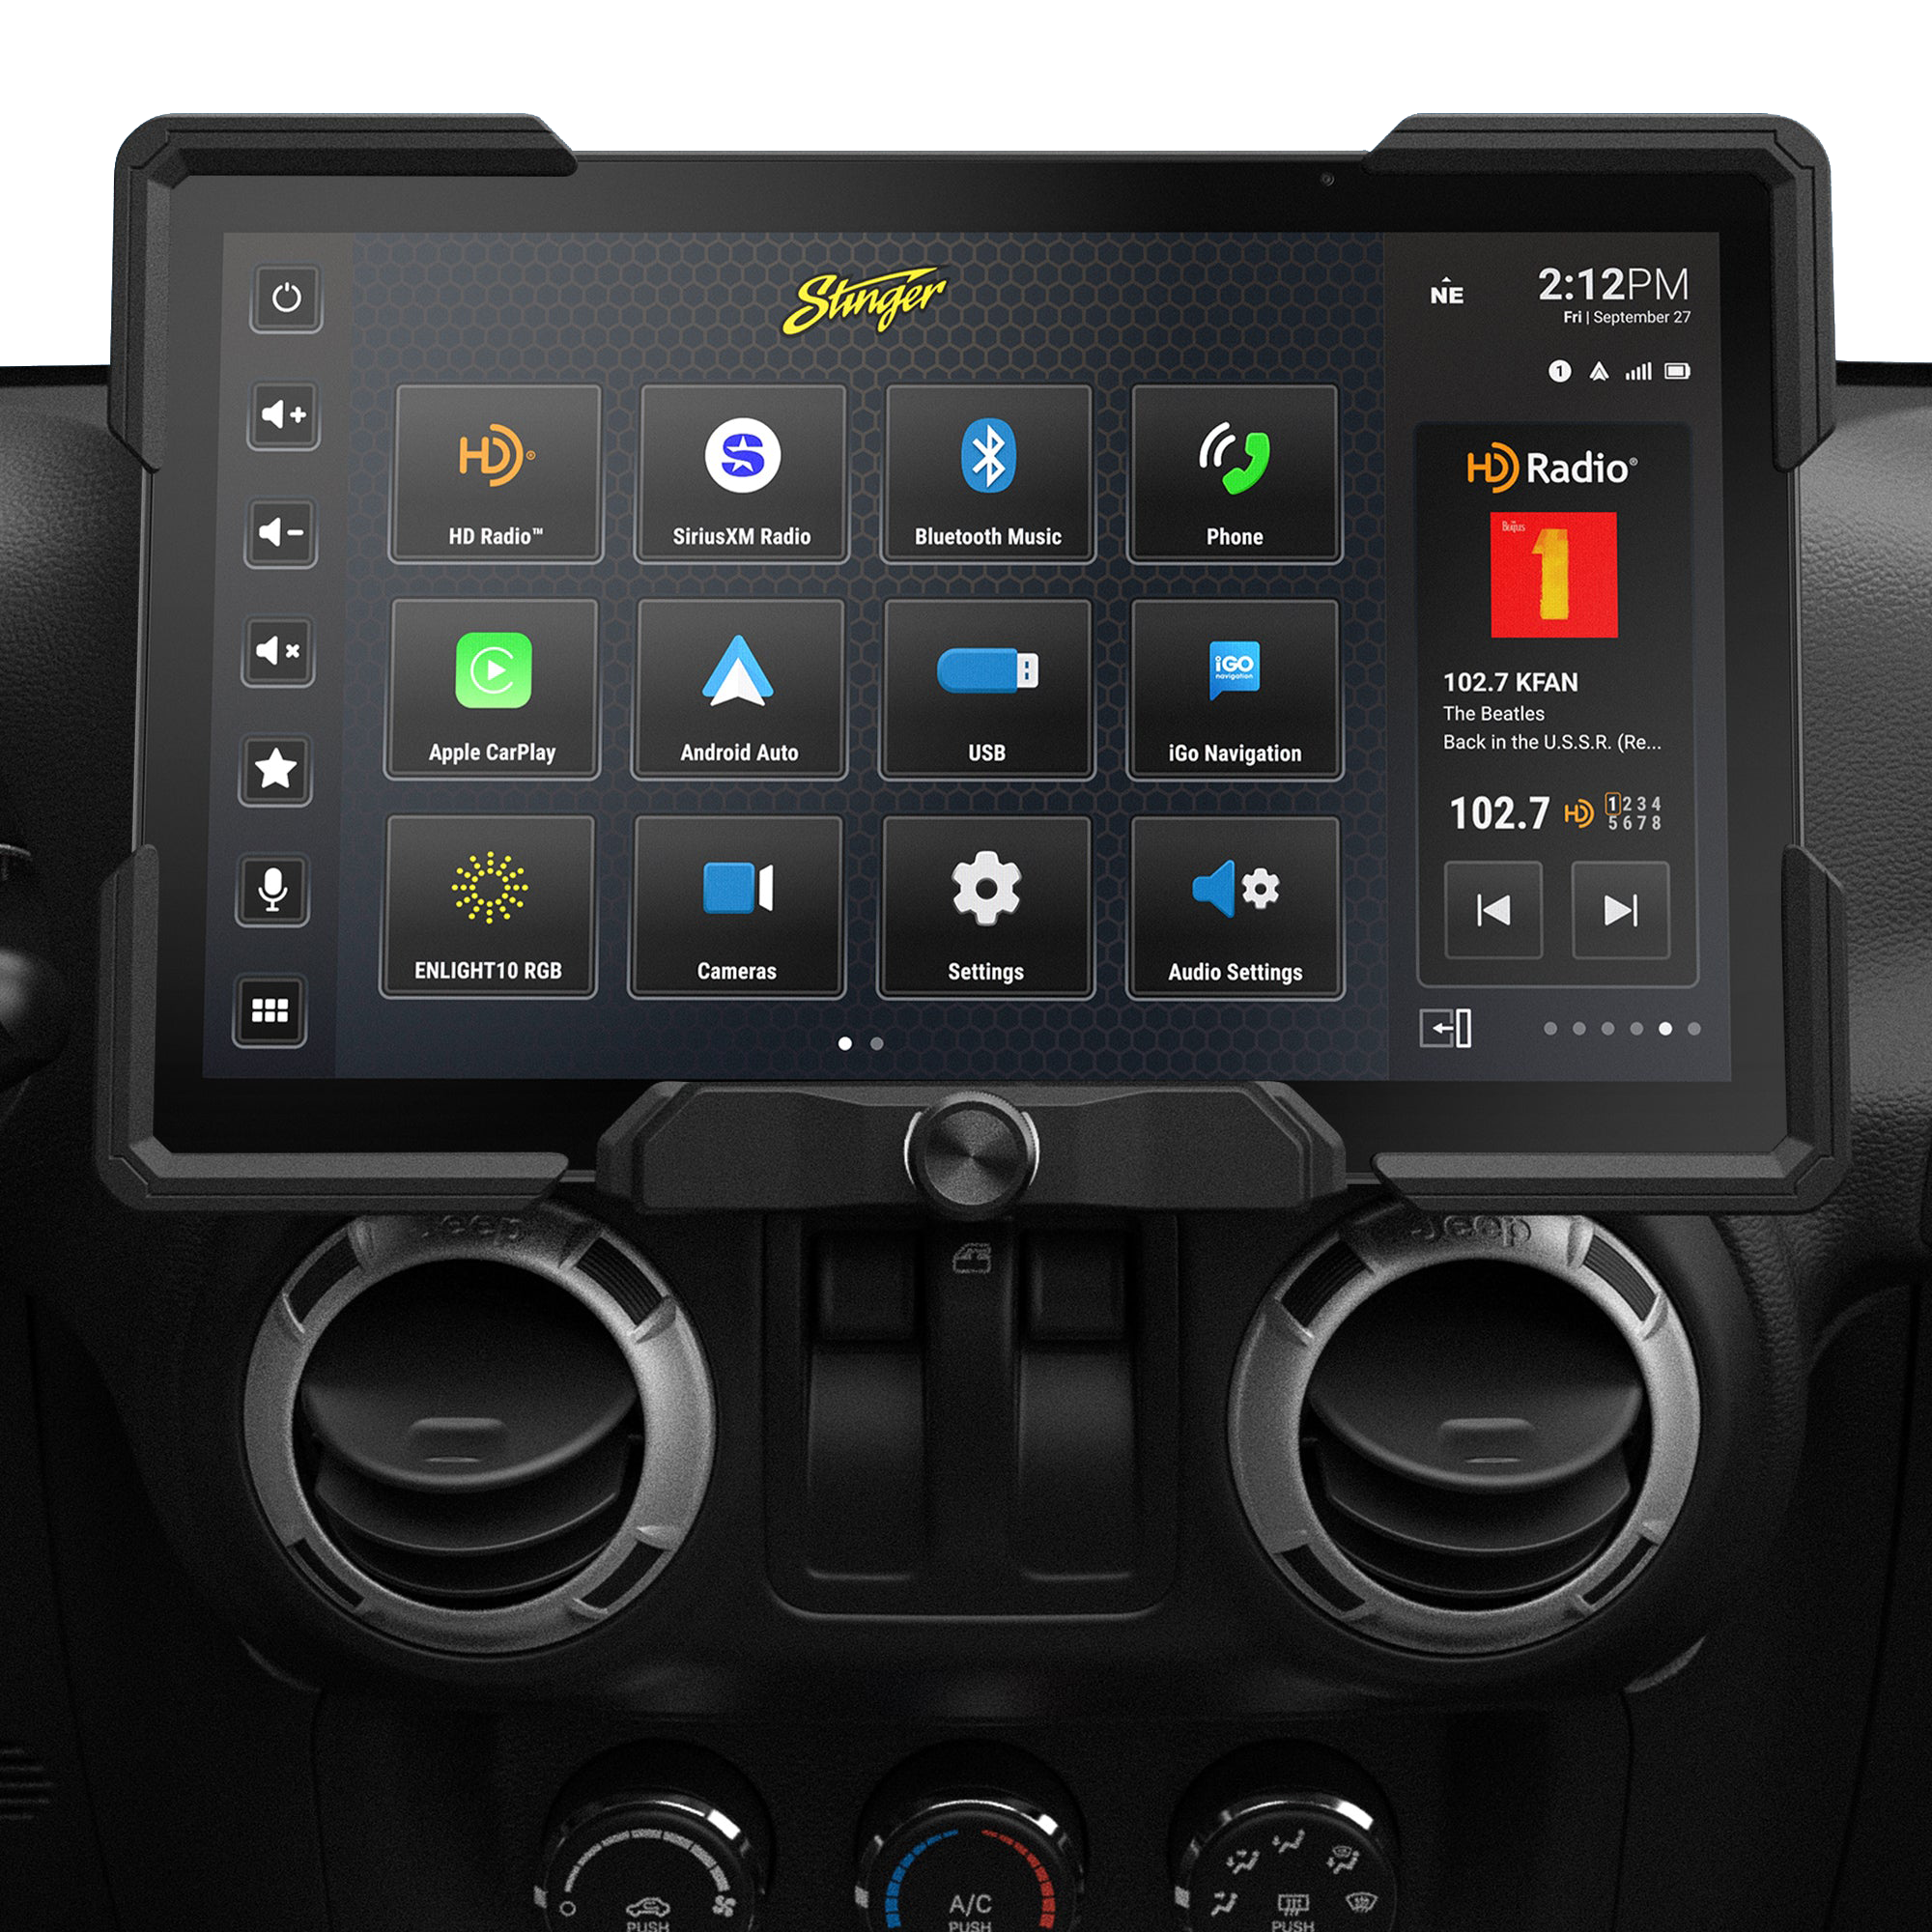
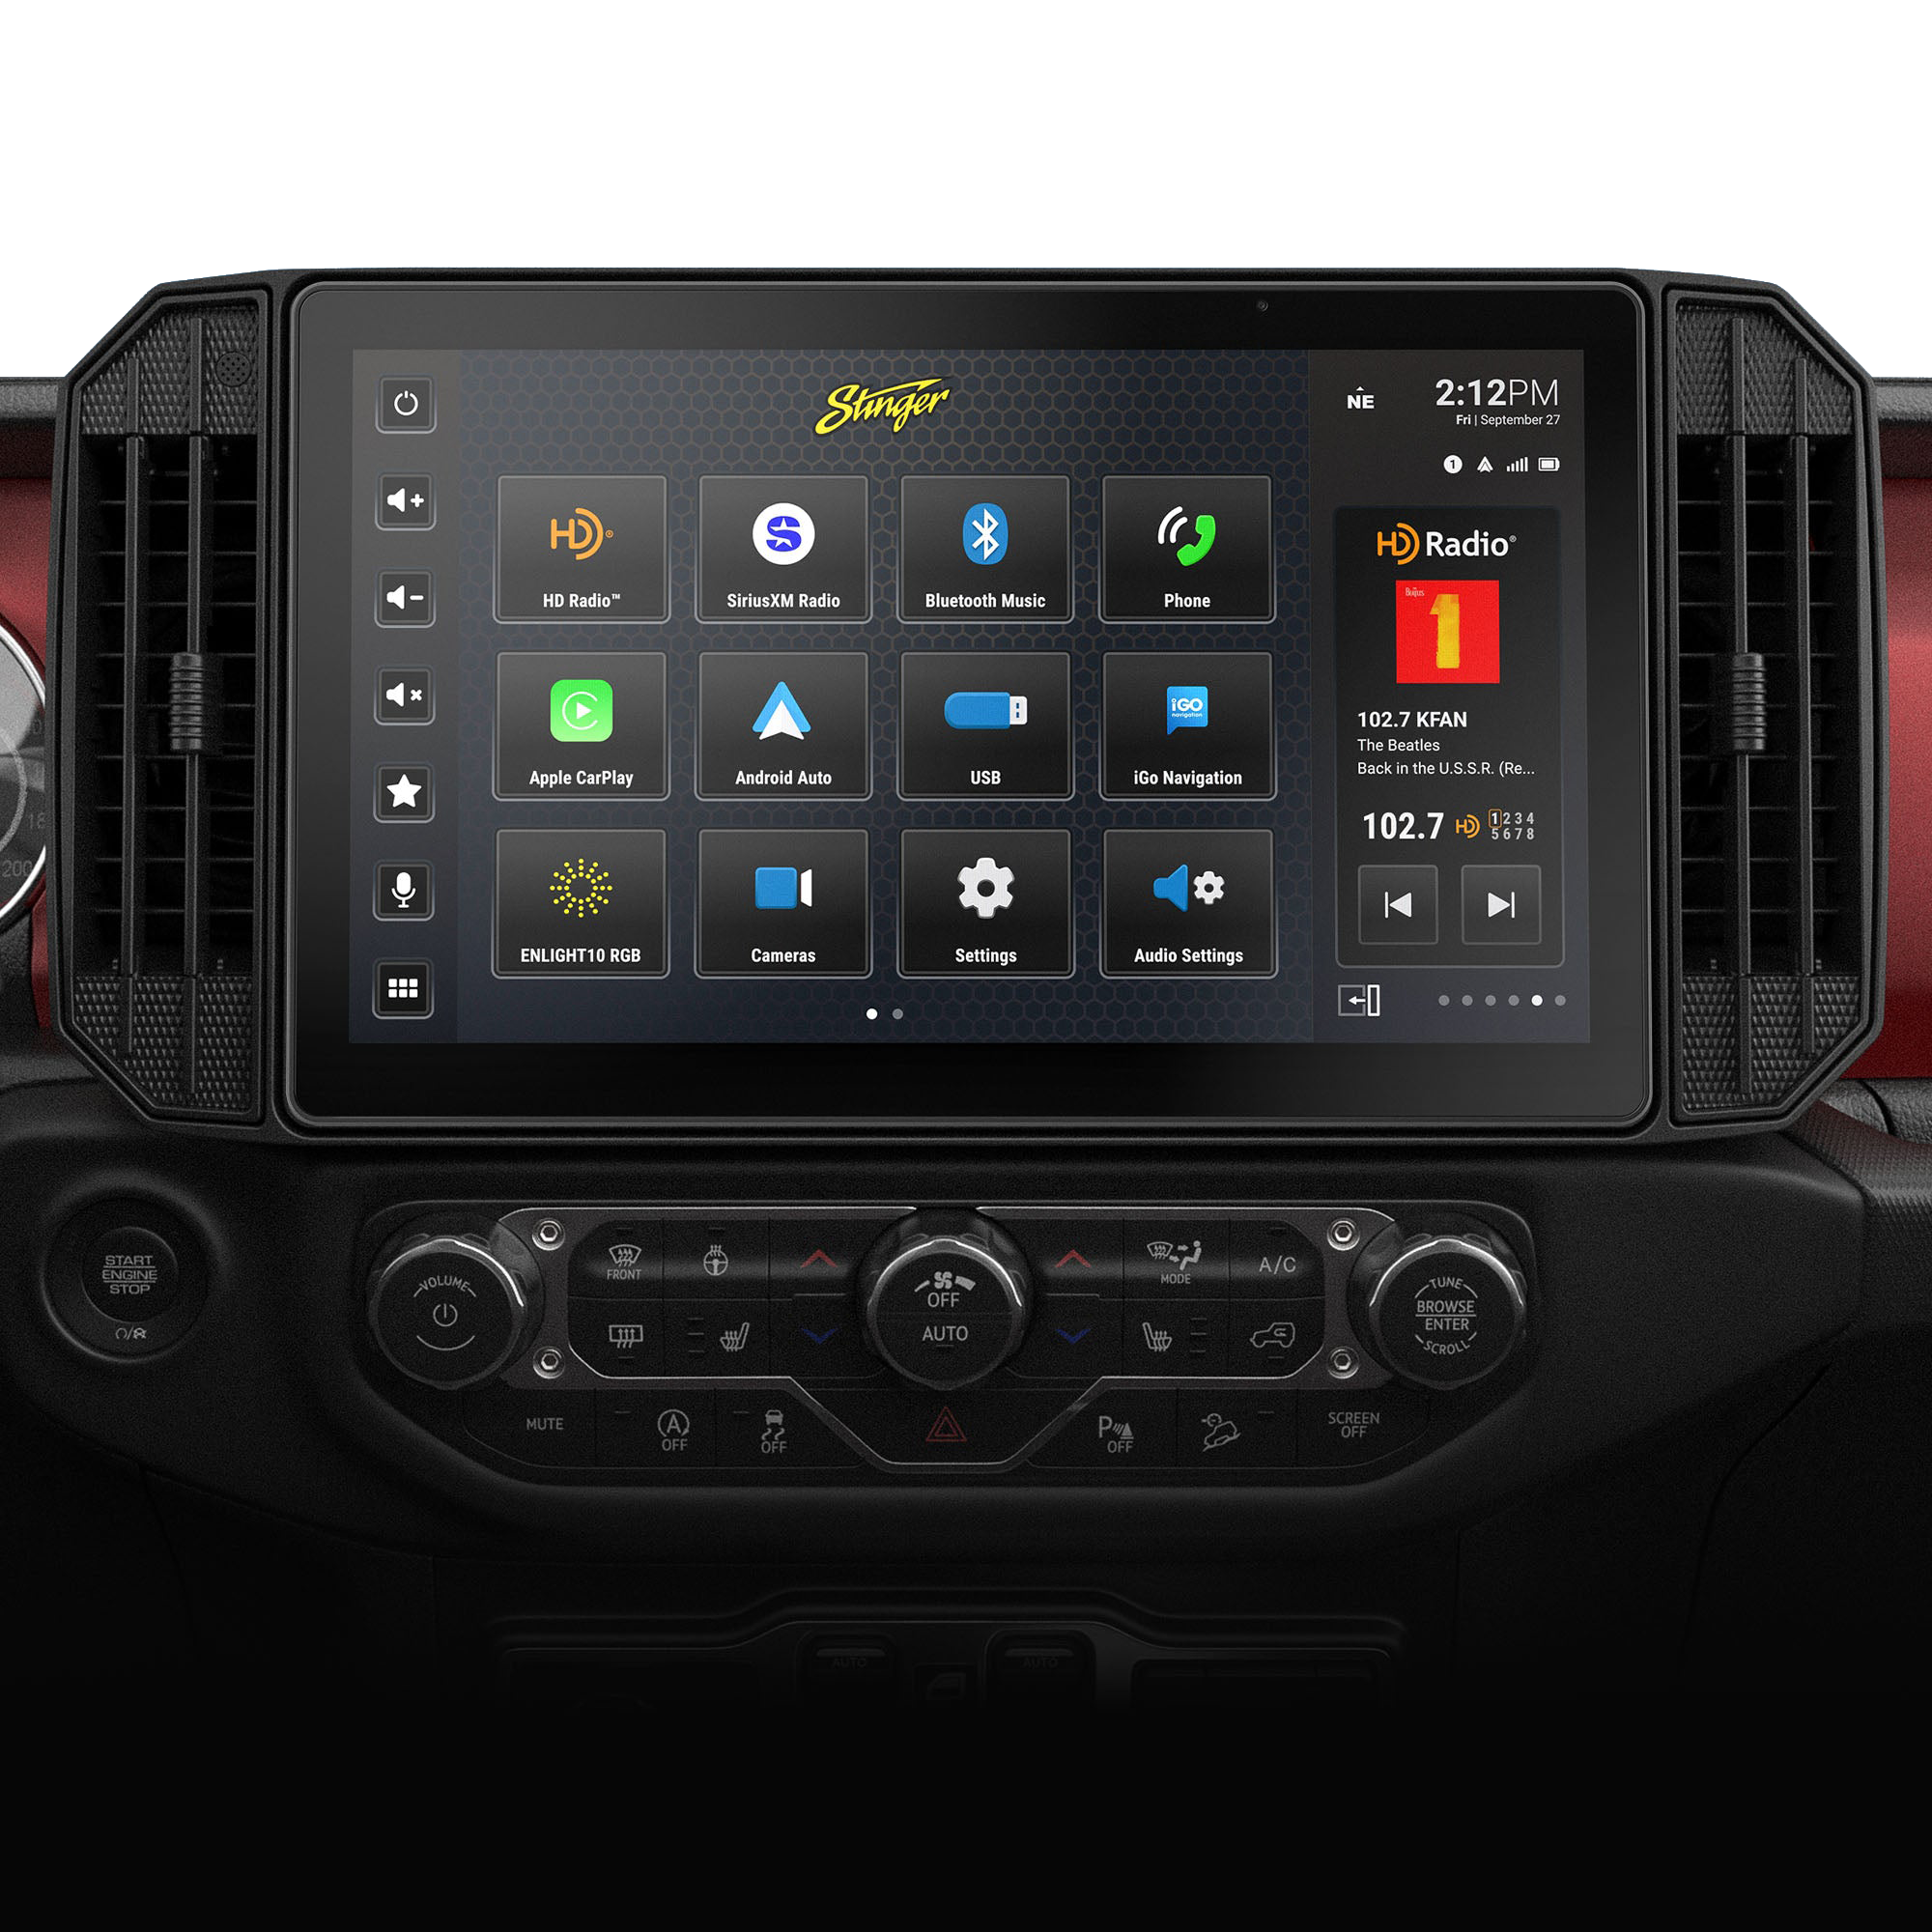
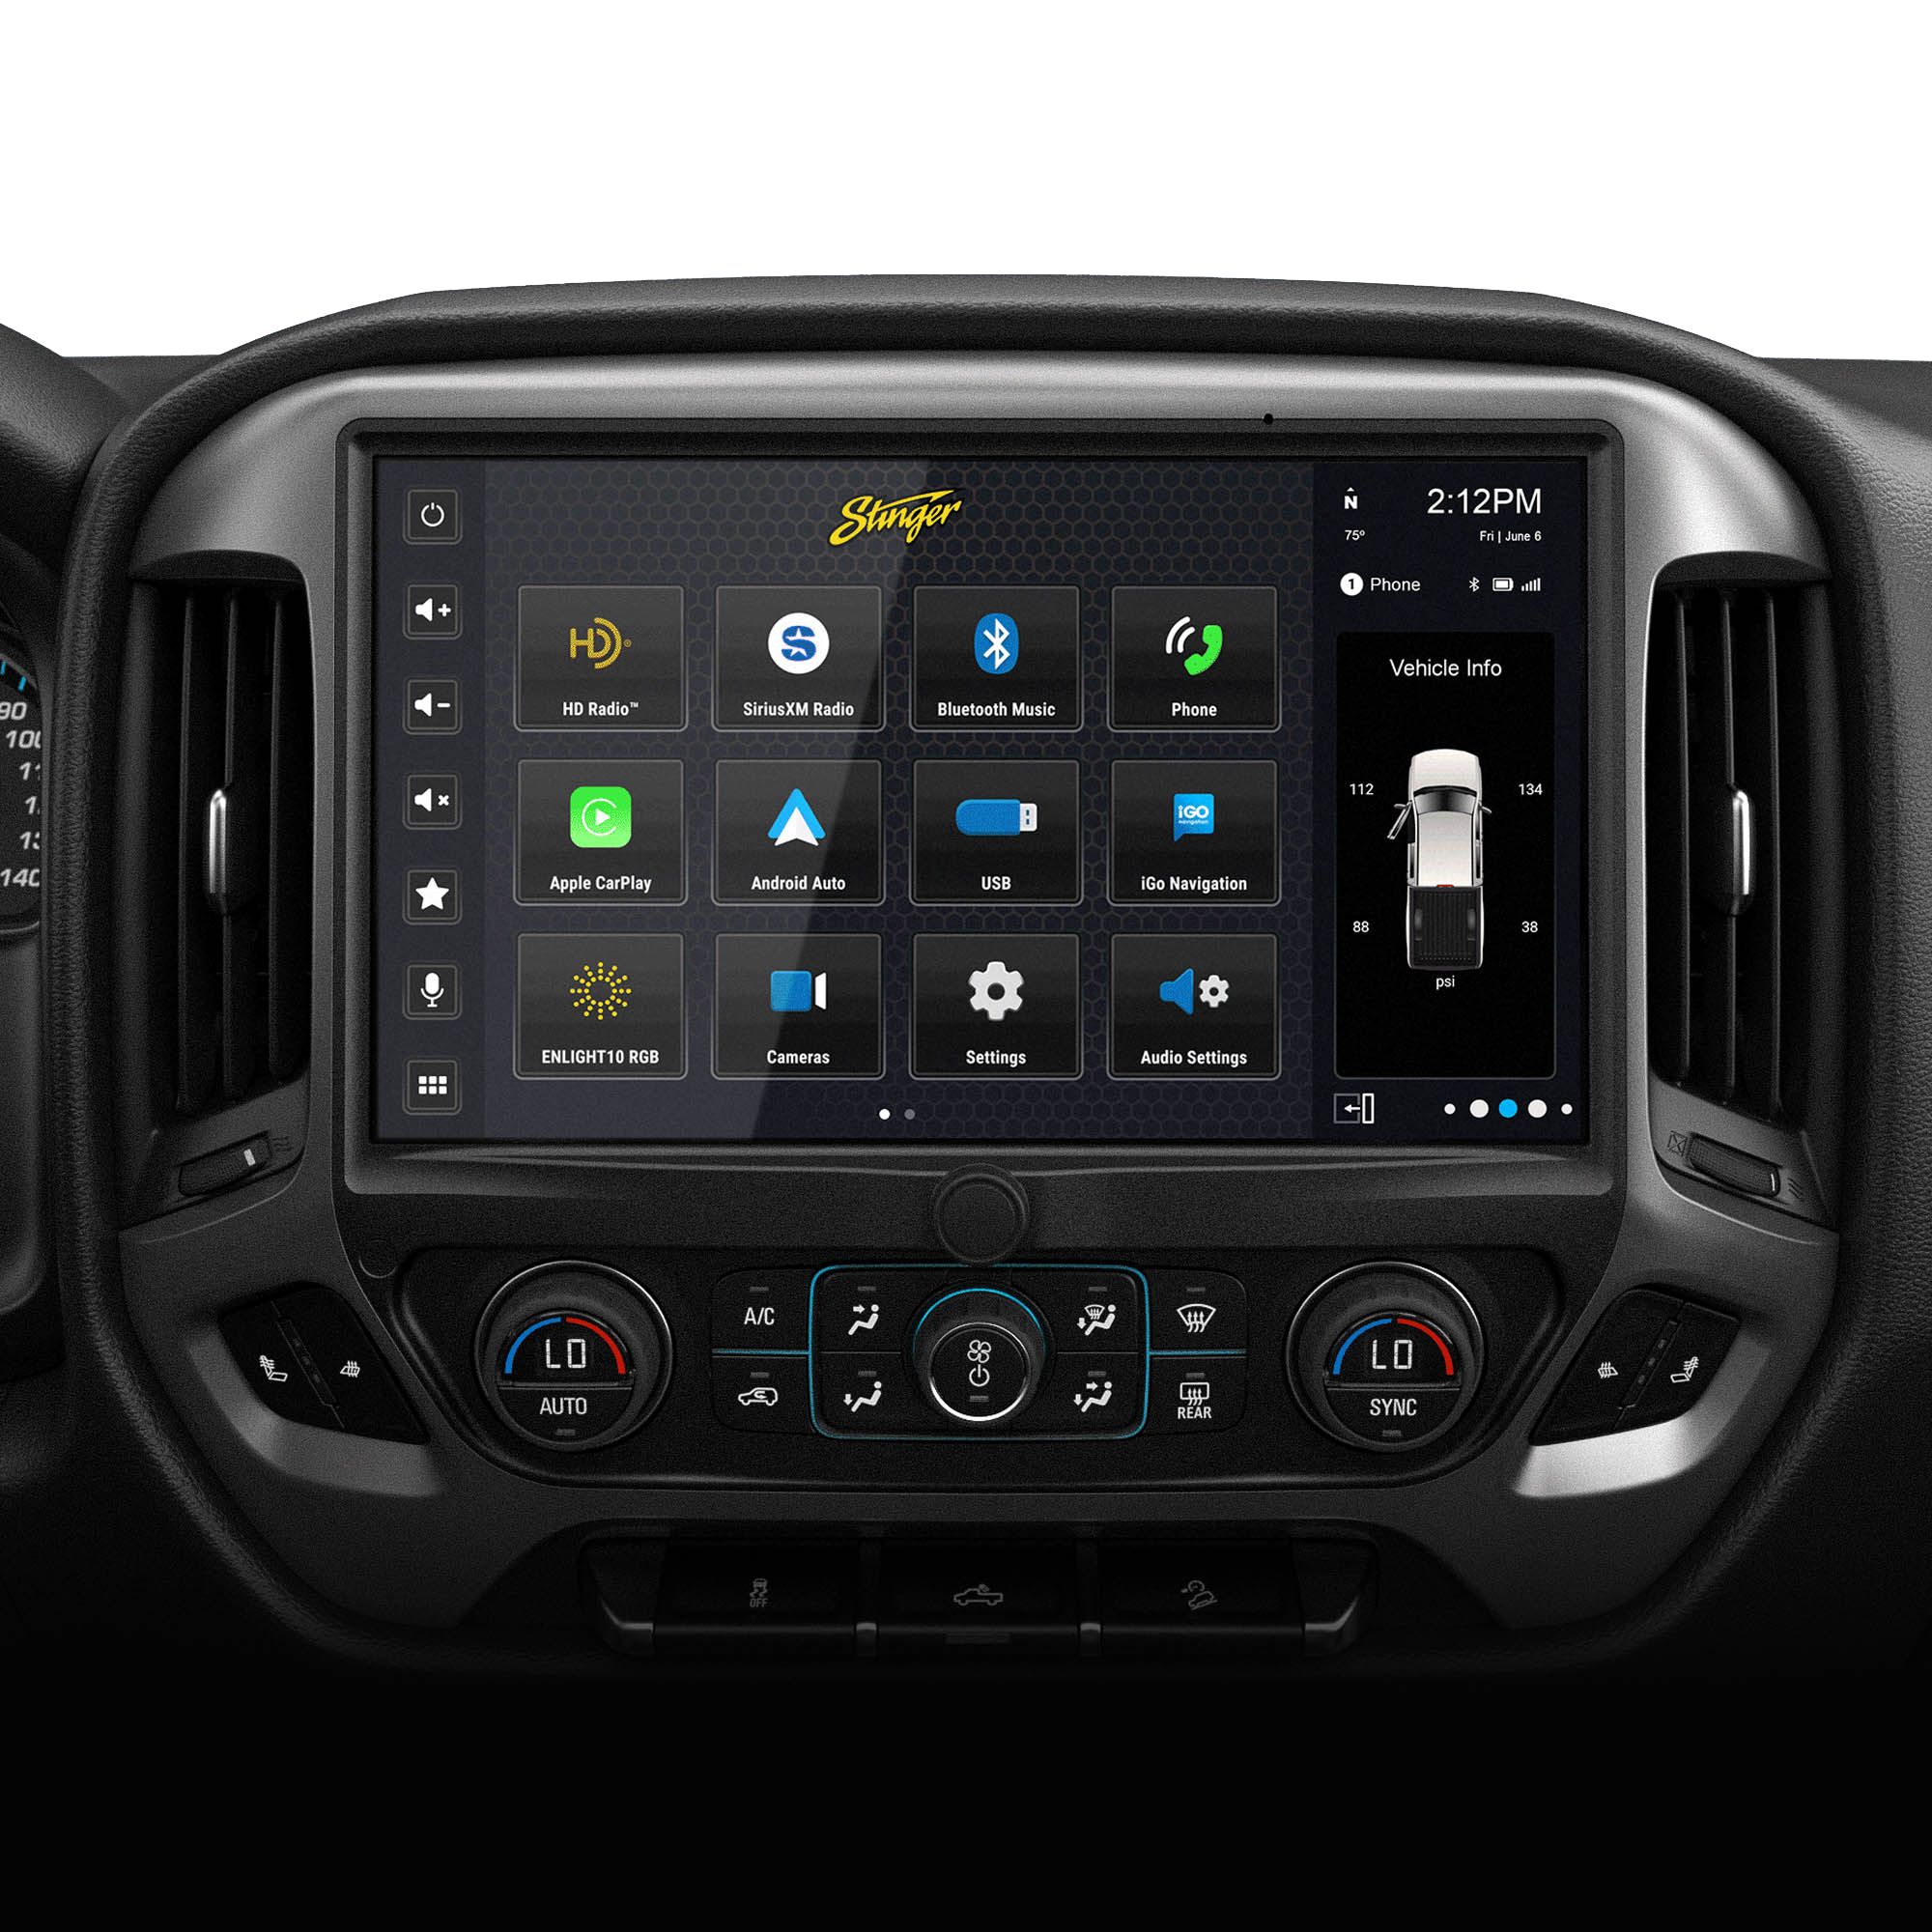

There's a moment every off-roader knows. You're picking your way down a dark trail, you need the light bar now, and you're patting the dash trying to remember which of six identical rockers you drilled into the A-pillar last spring is the one you want. The Stinger HORIZON10 & HORIZON12 gets rid of that moment. Your HEXCORE light bar, your pods, and chase light can all live on the same 10.1" touchscreen you already use for maps and music, now labeled as buttons you can actually read.
The Accessory Control app
Press the home button and tap Acc. Control. That's the whole lighting interface. The app gives you four channels. Each one starts empty with a setup button — tap it, give the accessory a name, pick an icon, confirm. Done. That channel is now a button on your dash.

From then on, one touch turns that circuit on or off. Each button also has its own settings button, so you can go back later and change the name, swap the icon, or adjust the button's behavior without redoing anything. Two minutes of setup, and your lighting stops being a memory test.
Name them like you'll read them at 11pm
This is the part people rush and then regret. Channel 3 tells you nothing on an unfamiliar trail with your hands full. Chase tells you everything. Use the names your build actually uses out loud. Here’s how a typical four-channel layout looks:
| Button | What's on it |
|---|---|
| Front Bar | Hero Bar or main straight/curved bar |
| Pods | A-pillar or bumper pod lights |
| Chase | Rear-facing chase light |
| Rocks | Rock lights or whips |

Icons matter for the same reason because you're glancing, not reading. A distinct icon per channel means you hit the right one on the first try, in the dark, gloved, bouncing.
Four channels, spent well
Four buttons cover most builds if you group them intelligently. Think in terms of when you reach for them, not what they physically are. The lights you flip on the second you leave pavement belong together. The chase light you run all day on a group run belongs on its own. Rock lights and camp lighting (things you use while stationary) can be grouped together. If a single circuit needs more power than one channel provides, outputs can be combined for higher amperage and is worth planning before anything gets mounted.
What it feels like on the trail
Trailhead - Tap Front Bar and Pods. No hunting or no fumbling around, eyes stay up.

Dust and Traffic - Kill the front bar with one touch when you pull in behind someone, bring it back when the gap opens. Since it's a button and not an awkward reach, you can do it with ease.
Group Runs - Chase light on at the start, off at the end. One button that is always in the same spot.
Camp - Rock lights on while you set up, off when you turn in. No walking around the rig hitting switches.
Selling the Vehicle Someday - No holes in the dash. No aftermarket panel hanging off the A-pillar. Nothing to undo.
What the screen does and doesn't do
Straight answer, because it shapes how you plan the build: each channel is an on/off circuit. The screen controls power to a group of lights. HEXCORE light bars also offer selectable high and low beam modes, and those run through the wired controller that ships in the box. So the pattern most people land on is: 1. Screen is for which lights are on, 2. Wired remote for “how hard they're working”. Decide how you want that split before install day. Grouping lights across channels is easy to plan and annoying to redo.
The one hardware piece that makes it work
You'll see the SwitchHUB (SPXSH440) listed as recommended alongside the HORIZON10 and HORIZON12. Treat it as required. The radio's four accessory outputs are low-current trigger wires, meaning they tell something else to switch. They don't carry the current your lights draw. Stinger's install manual warns in all caps that these outputs must go through relays or a SwitchHUB, and that wiring lights directly will damage the radio module.

The SwitchHUB is a solid-state relay block with four independent outputs of one 40A and three 20A (100A combined) with thermal overload and short-circuit protection on each. It replaces four conventional relays and their wiring with one sealed box under the hood. It's also what makes the four on-screen buttons possible, so you can how integral it is to the setup. If you are unfamiliar or uncomfortable with installing one along with your lights, you can the whole setup installed by a certified shop. Stinger lists over 600 of them.
Your checklist
1. Buy the SwitchHUB with the lights. HEXCORE offers vehicle-specific kits for many popular vehicles. Select the one that’s right for you.
2. Sketch your four channels first. Write down the button names you want. It'll change how you group the lights.
3. Register your lights. HEXCORE carries a two-year warranty, extendable to three when you register after purchase.
4. Install your lights. HEXCORE’s vehicle kits come with vehicle-specific brackets and harnesses which makes installation straightforward.
5. Know your local laws. Auxiliary lighting rules vary by state, and covers are required on public roads in many places.
The bottom line
On-screen accessory control isn't a novelty feature; it’s a better interface than the switch panel it replaces. Named buttons, custom icons, everything in one place you're already looking. The next time you drop into a dark trail, the only thing you need to remember is which button says Front Bar.


